- 프론트 프로젝트 경로 : C:\comunity_front
- node 버전 : 20. 10. 0
- IDE : 인텔리제이
#1
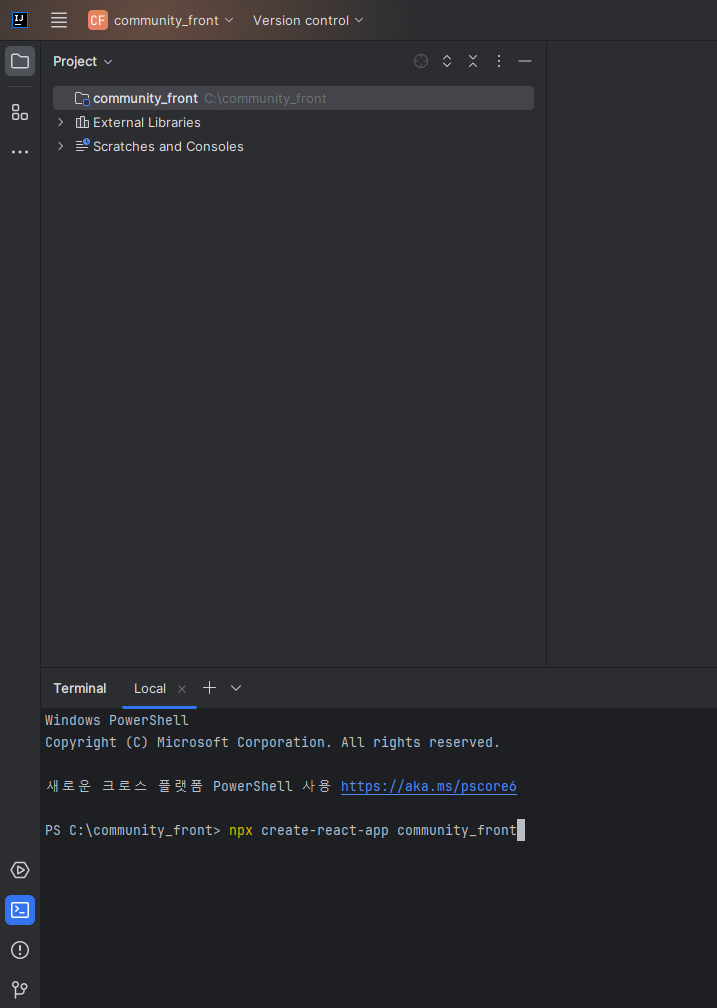
npx create-react-app community_front- 로 프론트 프로젝트 생성
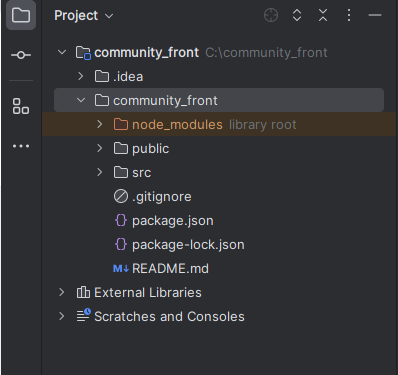
- 위에 c:\community_fron\ 경로에 위 사진 처럼 node_modules 등등의 파일이 생기면 react 프로젝트 설치 완료 된 것.

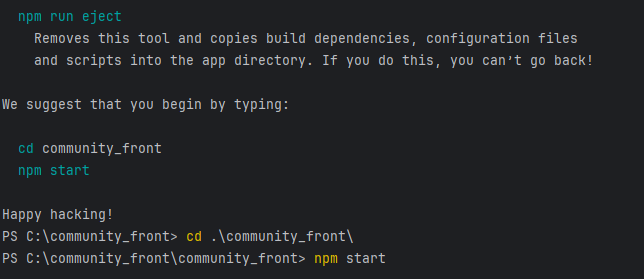
- 설치 완료
- 경로 이동해서 npm start 리액트 프로젝트 실행
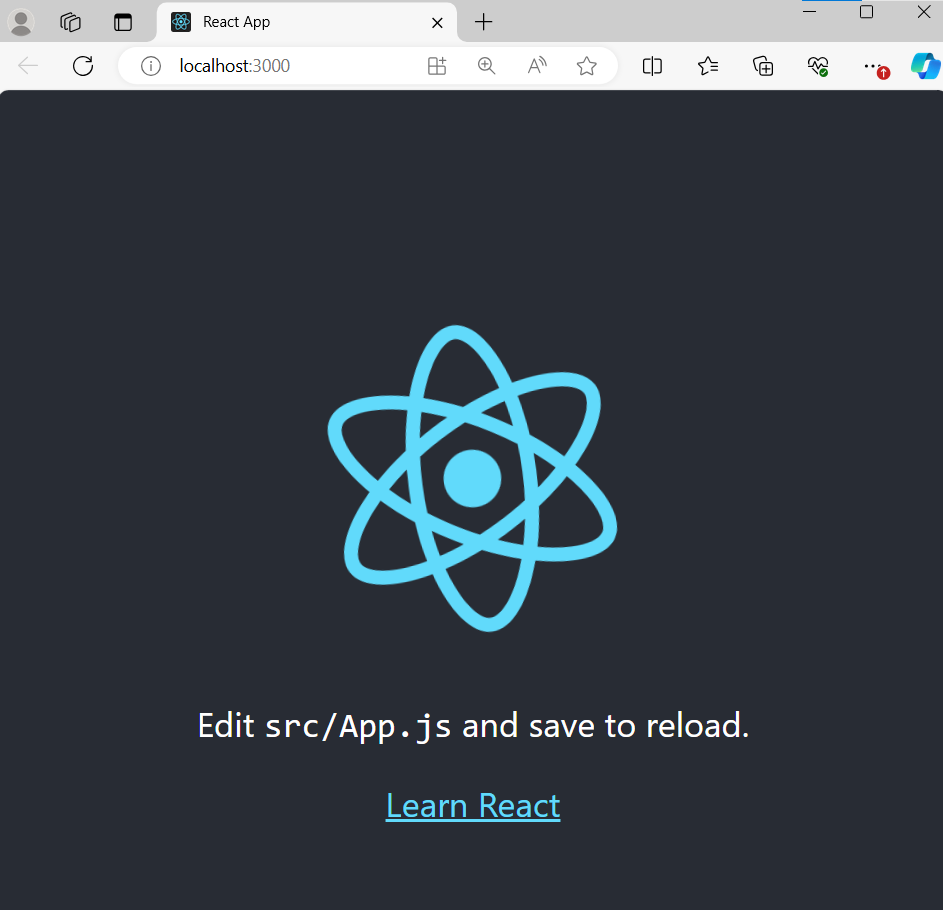
- 성공
- ui, css 를 위해
(1) reactStrap :: 깔끔한 ui 쉽게 사용하기 위함
(2) boostrap :: reactstap이 style 속성을 bootstrap에서 가져와 쓰기 때문
(3) sweetalert2 :: 깔끔한 alert 창을 쉽게 사용하기 위함
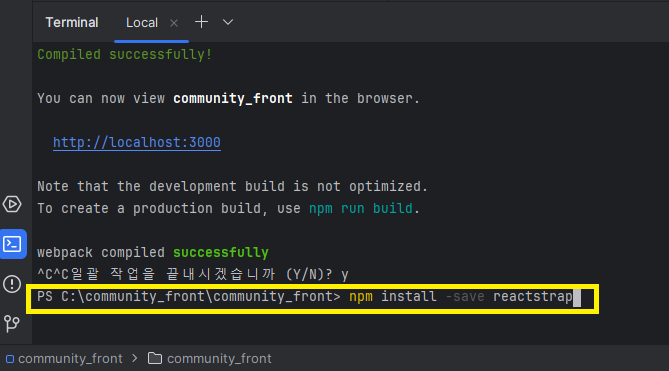
라이브러리 설치하기
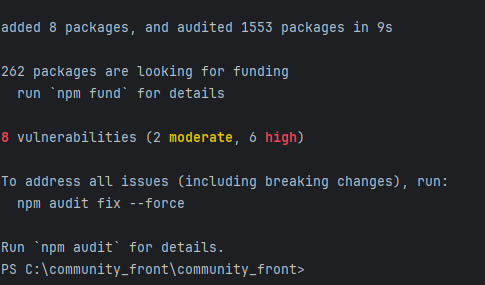
npm install -save reactstrap- 로 (1) reactstrap 설치
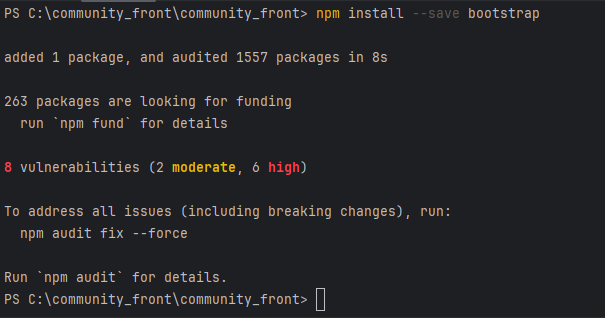
npm install --save bootstrap- 로 (2) 부트스트랩도 설치해준다.
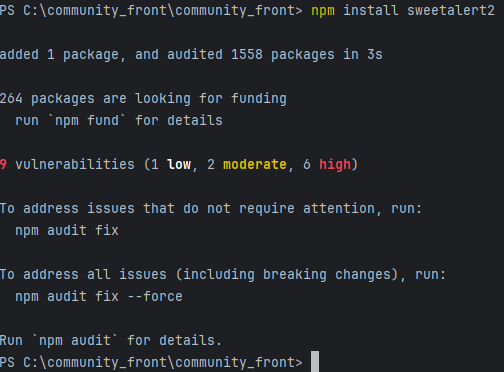
npm install sweetalert2- 마지막으로 (3) sweetalert2 설치
- 이제 페이지 이동을 위한 router 테스트 작업을 수행할 것이다.

- 우선 테스트를 위해
- router 디렉터리 안에 Login.jsx 와 Main.jsx 파일 만든다.
- Login.jsx
import React from 'react';
import {Button, Col, Form, FormGroup, Input, Label, Row} from "reactstrap";
import Swal from "sweetalert2";
function Login() {
return (
<div style={{maxWidth:"100vh", margin:"auto"}}>
<Form>
<Row>
<Col md={12}>
<Label style={{color:"gray"}}>
로그인을 진행해주세요.
</Label>
</Col>
</Row>
<Row form>
{/* Row 의 최대 md 가 12임 */}
<Col md={12}>
<FormGroup>
<Label>
아이디
</Label>
<Input type={"text"} name={"loginId"} id={"loginId"} >
</Input>
</FormGroup>
</Col>
<Col md={12}>
<FormGroup>
<Label>
패스워드
</Label>
<Input type={"password"} name={"loginPw"} id={"loginId"}>
</Input>
</FormGroup>
</Col>
<Col md={12}>
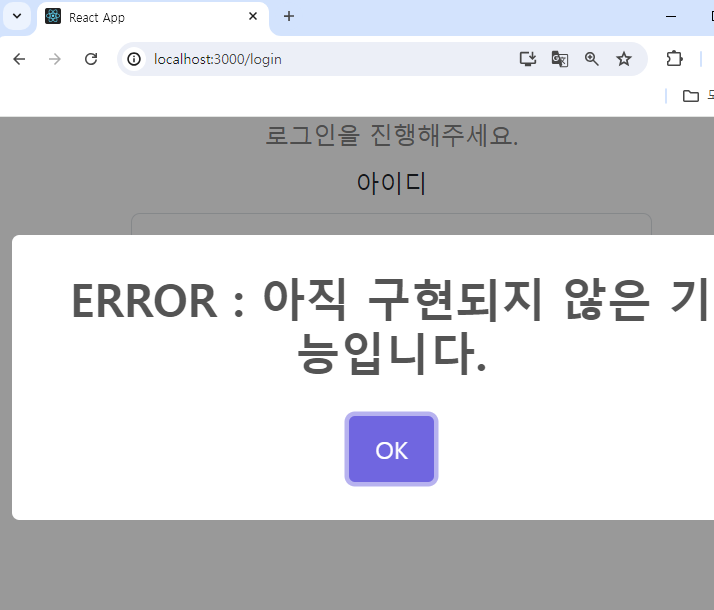
<Button color={"primary"} style={{width:"100vh"}} onClick={() => {
Swal.fire(" ERROR : 아직 구현되지 않은 기능입니다. ");
}}>
로그인
</Button>
</Col>
</Row>
</Form>
</div>
);
}
export default Login;
- Main.jsx
import React from 'react';
import {UncontrolledCarousel} from "reactstrap";

function Main() {

    const mainPageItems = [
        {
            key: 1,
            src: 'https://tistory1.daumcdn.net/tistory/6616858/attach/369b1a939db64f33b221d7275a03feb1',
            altText: '메인 페이지 이미지1 이 들어갈 자리',
            caption: '어서오세요 letsdodev 에서 만든 사이트의 홈입니다.',
            header: 'letsdodev 사이트',
        },
        {
            key: 1,
            src: 'https://img1.daumcdn.net/thumb/R1280x0/?scode=mtistory2&fname=https%3A%2F%2Fblog.kakaocdn.net%2Fdna%2FbP4uTq%2FbtstqsNSdj4%2FAAAAAAAAAAAAAAAAAAAAABhc9Pou56AkOJ1JPFo2FZlyjdkHjhaHNXL532YzFknU%2Fimg.jpg%3Fcredential%3DyqXZFxpELC7KVnFOS48ylbz2pIh7yKj8%26expires%3D1777561199%26allow_ip%3D%26allow_referer%3D%26signature%3DT3kGA7IwXZJWwLDvVKjE99LPai0%253D',
            altText: '메인 페이지 이미지2 가 들어갈 자리',
            caption: '어서오세요 letsdodev 에서 만든 사이트의 홈입니다.',
            header: 'letsdodev 사이트'
        },
    ];

    return (
        <div style={{fontSize:"5vh"}}>
             <UncontrolledCarousel items={mainPageItems}/>
        </div>
    );
}

export default Main;
- # router 설치
npm install --save react-router-dom
- index.js (리액트 프로젝트 생성하면 기본으로 존재하는 파일)
- 에서 <App></App> (역시 기본으로 존재하는 파일:App.js) 을
- <BrowserRouter> ... <BrowserRouter/> 로 감싸기
- index.js
import React from 'react';
import ReactDOM from 'react-dom/client';
import './index.css';
import App from './App';
import reportWebVitals from './reportWebVitals';
import {BrowserRouter} from "react-router-dom";

const root = ReactDOM.createRoot(document.getElementById('root'));
root.render(
  <React.StrictMode>
      <BrowserRouter>
          <App />
      </BrowserRouter>
  </React.StrictMode>
);

// If you want to start measuring performance in your app, pass a function
// to log results (for example: reportWebVitals(console.log))
// or send to an analytics endpoint. Learn more: https://bit.ly/CRA-vitals
reportWebVitals();
- 그 다음 기존 App.js 를

- 특정 url 접근시(router에 사전에 등록시킨) ▶ router 에 매핑되어 있는 컴포넌트로 이동될 수 있게 App.js 수정
- + router 매핑되어 있는 컴포넌트에서 reactstrap 사용을 위한 부트스트랩 css 적용
- App.js
import logo from './logo.svg';
import './App.css';
import {Route, Routes} from "react-router-dom";
import Login from "./router/Login";
import Main from "./router/Main";

// npm install --save bootstrap 이후 추가해주어야 할 css 로 App.js 에만 있으면
// router 로 매핑한 컴포넌트에서도 reactstrap 사용 시 사용된다.
import 'bootstrap/dist/css/bootstrap.css';

function App() {
  return (
    <div className={"App"}>
      <Routes>
        <Route exact path={'/'} element={<Main/>} />
        <Route exact path={'/main'} element={<Main/>} />
        <Route exact path={'/login'} element={<Login/>}/>
      </Routes>
    </div>
  );
}

export default App;
- router 매핑 테스트 수행
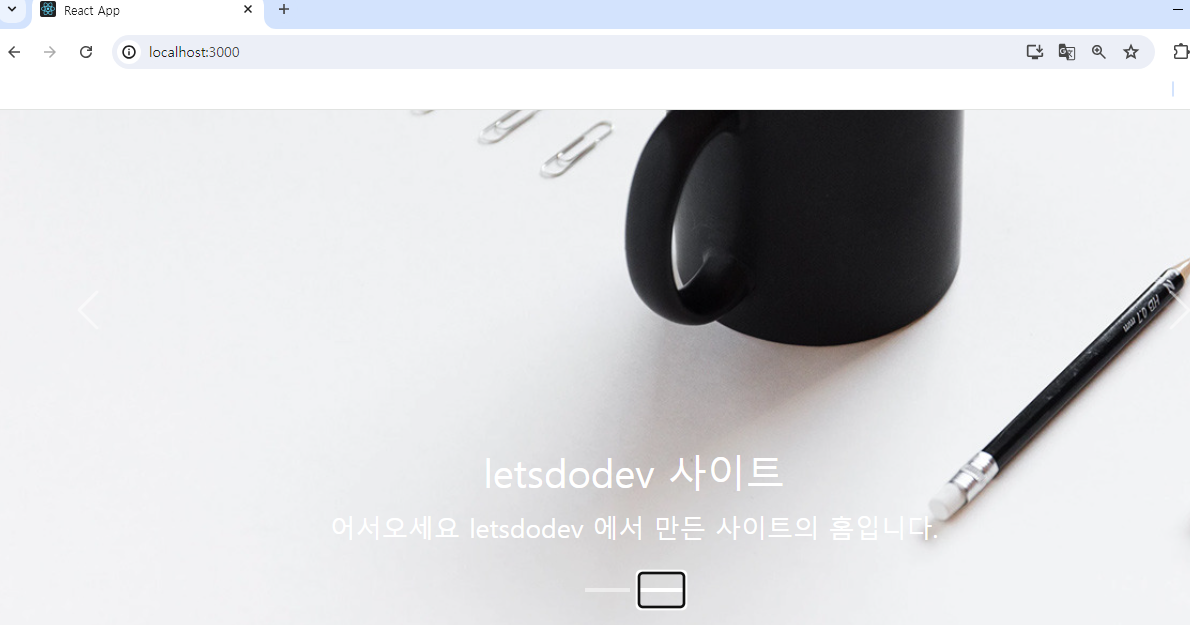
- localhost:3000/, localhost:3000/main 접근 시

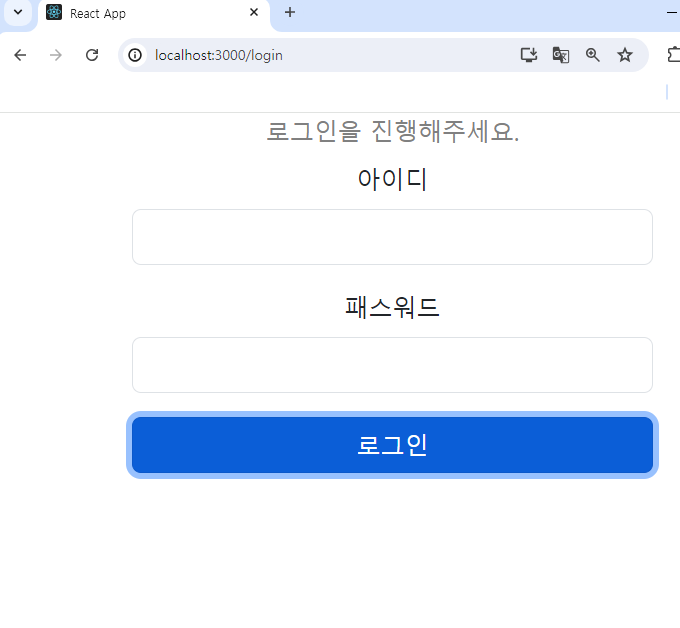
- localhost:3000/login 접근 시
여기까지 reactstrap, bootstrap, sweetalert2 설치, router 테스트 완료
#2

- Properties.js 파일 추가 (자바스크립트로 대충 로그인 기능 만들 예정 -> 그때 사용될 프로퍼티)
/**
 * DB 대신에 사용할 정적 데이터
 * @type {{userInfo: {userPwd: string, userId: string}}}
 */
const properties = {

    userInfo : {
        userId : "sampleId",
        userPwd : "samplePwd"
    }

}
export default properties;
- Introduction.jsx 추가 (소개말 페이지)
import React from "react";
import {Button, Card, CardBody, CardImg, CardText, CardTitle, FormGroup} from "reactstrap";

/**
 * 다크모드 일반모드 기능은 추후 개발 예정
 * @returns {Element}
 * @constructor
 */
const Introduction = () => {

    return (
        <>
        <FormGroup
            style={{
                textAlign:"center",
            }}
        >
            <Button
                className={"alert-primary"}
                style={{background:"black", color:"white"}}
            >다크모드</Button>
            <Button
                className={"alert-primary"}
                style={{background:"white", color:"black"}}
            >일반모드</Button>
        </FormGroup>
        <Card
            style={{
                background:"whitesmoke",
                display:"table",
                margin:"auto"}}>
            <CardBody style={{margin:"auto"}}>
                <CardTitle style={{
                    display:"grid",
                    padding:"0.7em",
                    border:"solid 2px beige",
                    borderRadius:"10px",
                    fontFamily:"fantasy",
                    fontSize:"30px"
                }}>
                    letsdodev의 커뮤니티 페이지
                </CardTitle>
                <CardImg src={'https://tistory1.daumcdn.net/tistory/6616858/attach/369b1a939db64f33b221d7275a03feb1'}
                style={{
                    height:"150px",
                    width:"150px"
                }}>
                </CardImg>
                <CardText style={{
                    padding:"1rem",
                    display:"flex",
                    textAlign:"left",
                    fontFamily: "fantasy",
                    fontSize: "20px",
                }}>
                안녕하세요~ 반갑습니다!<br/>
                letsdodev의 커뮤니티 페이지 입니다!<br/>
                </CardText>
            </CardBody>
        </Card>
        </>
    );
}

export default Introduction;
- 이렇게 새로 만든 컴포넌트틀 App.js 에 라우터 경로로 추가
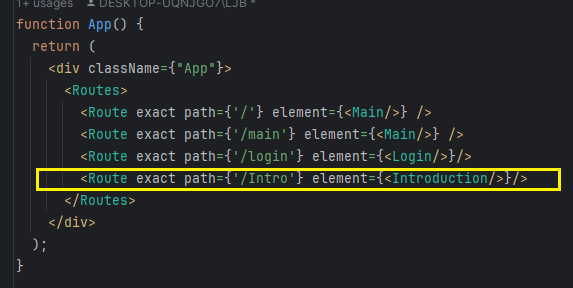
- 확인 : localhost:3000/intro 로 접근 (소개말 페이지)
▼

이 다음에 Redux를 이용해 상태를 관리하여
Intro 컴포넌트의 다크모드 일반모드를 관리할 예정
'react' 카테고리의 다른 글
| 리액트(react) - 자식 컴포넌트에서 부모 컴포넌트 state 변경 (2) | 2024.08.20 |
|---|---|
| redux, react-redux (리덕스 실습) : 다크모드 / 일반모드 (0) | 2024.08.10 |
| node 모듈 재 설치 하는 법 (0) | 2024.07.21 |
| 리액트(React) Example 200 - # 081 ~ 083 react-redux 스토어 데이터 상속/사용/변경 (0) | 2024.04.24 |
| 리액트(React) Example 200 - # 078 ~ 080 redux 스토어 활용 (0) | 2024.04.14 |


